

 EnglishEN
 ItalianoIT
 DeutschDE
 EspañolES
 FrançaisFR
 РусскийRU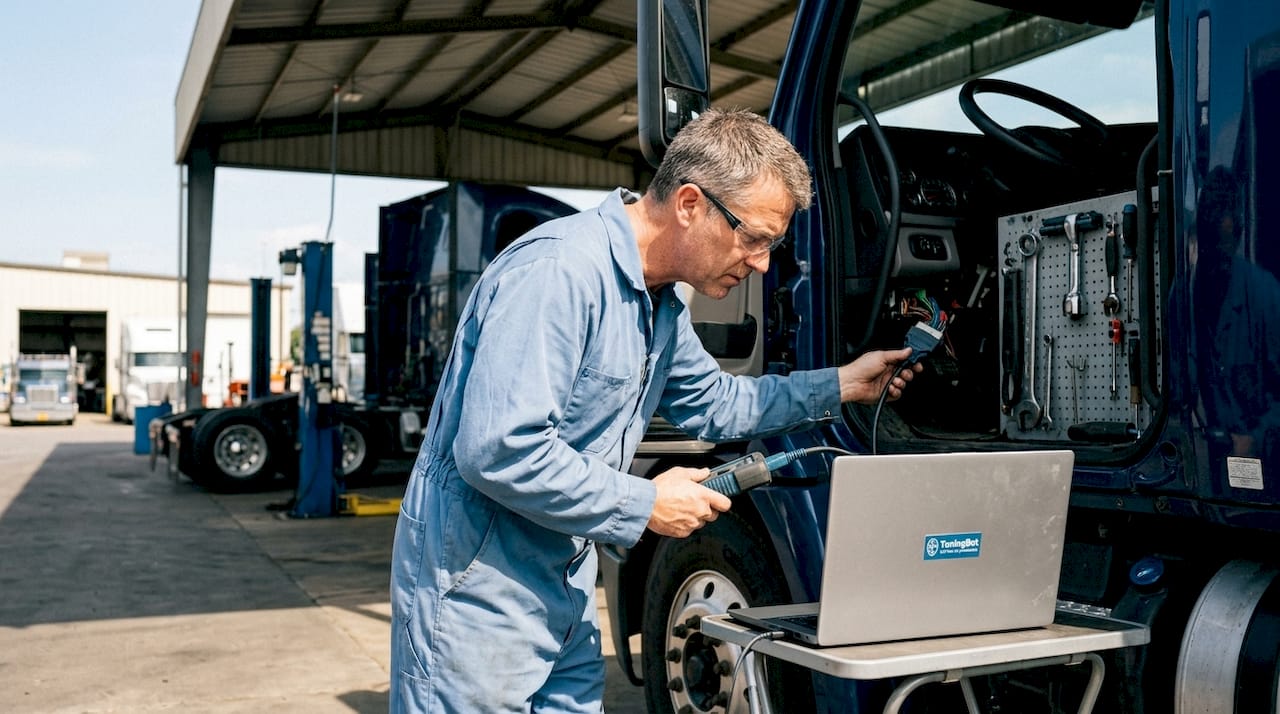
A European truck ECU remapping checklist is a structured, step-by-step process that governs safe calibration, performance tuning, and post-remap validation for heavy-duty diesel engines. ECU remapping, formally called ECU calibration, modifies the factory-programmed parameters inside the engine control unit to improve power output, torque delivery, and fuel economy. Professional Stage 1 remapping for turbocharged diesel engines delivers gains of 25–35% in power and torque, with fuel economy improvements of 10–15%. Those numbers matter to fleet managers running high-mileage routes, where fuel savings compound quickly across an entire vehicle pool. The IMI Tuning Qualification sets the recognized professional standard for this work in Europe, and every step in this checklist reflects that level of rigor.
1. What are the critical pre-remapping diagnostics in the checklist?
Pre-remap diagnostics are the foundation of every safe truck ECU tuning guide. Skipping this stage is the single most common reason remaps fail or cause engine damage. Industry best practice mandates a full diagnostic baseline before any calibration file is written or uploaded.
The following parameters must be checked and logged before any calibration work begins:
- Pressão do turbo: Confirm the turbocharger delivers within OEM specification under load.
- Rail pressure: Verify the common rail system holds target pressure at idle and at full demand.
- Injector response times: Identify worn or drifting injectors before they corrupt calibration data.
- Tensão da bateria: Confirm stable supply above 12.4V to prevent interrupted programming sessions.
- DTC codes: Clear all fault codes and document any active or pending codes that indicate mechanical issues.
- Coolant and oil temperature: Confirm the engine reaches and holds normal operating temperature before logging begins.
- Exhaust gas temperature (EGT): Baseline EGT readings protect against thermal overload after calibration.
Baseline logging under real load conditions gives the calibrator a truthful picture of where the engine actually operates, not where the OEM map assumes it should. This data becomes the reference point for every parameter adjustment that follows.
Dica de Mestre: For heavy-duty trucks, always perform baseline logging in a workshop environment with the vehicle on a dyno or under controlled road load. Mobile diagnostic sessions on the roadside cannot replicate the sustained load conditions that expose injector drift or boost leaks.
2. How to choose the correct remapping stage for European trucks
Selecting the right stage is the most consequential decision in any European truck tuning checklist. The wrong choice creates mechanical stress the engine was never designed to absorb.
- Stage 1 (software only): Modifies fuel injection timing, boost pressure targets, and torque limits within the mechanical tolerances of the stock hardware. This is the correct starting point for fleet vehicles and any truck still under manufacturer warranty review. Typical gains sit in the 25–35% range for turbocharged diesel engines without touching hardware.
- Stage 2 (hardware upgrades required): Requires upgraded intercoolers, fuel injectors, or turbocharger components before the calibration file is written. Applying a Stage 2 map to stock hardware accelerates wear and voids any remaining warranty coverage.
- Fleet-specific calibration: Fleet managers should prioritize mid-range torque over peak power. A well-calibrated remap that targets mid-range torque reduces gear changes, lowers heat buildup, and extends drivetrain life across high-mileage cycles.
- Avoid generic off-the-shelf maps: Generic maps that ignore mechanical limits cause turbocharger wear, injector failure, and emission control faults. Vehicle-specific assessment is not optional for heavy-duty applications.
O fluxo de trabalho de ajuste seguro from Stage 1 onward requires matching the calibration file to the actual mechanical condition of the vehicle, not to a generic engine family profile.
3. Essential steps during the ECU calibration process
The calibration process itself follows a fixed sequence. Deviating from this order introduces errors that are difficult to trace and expensive to correct.
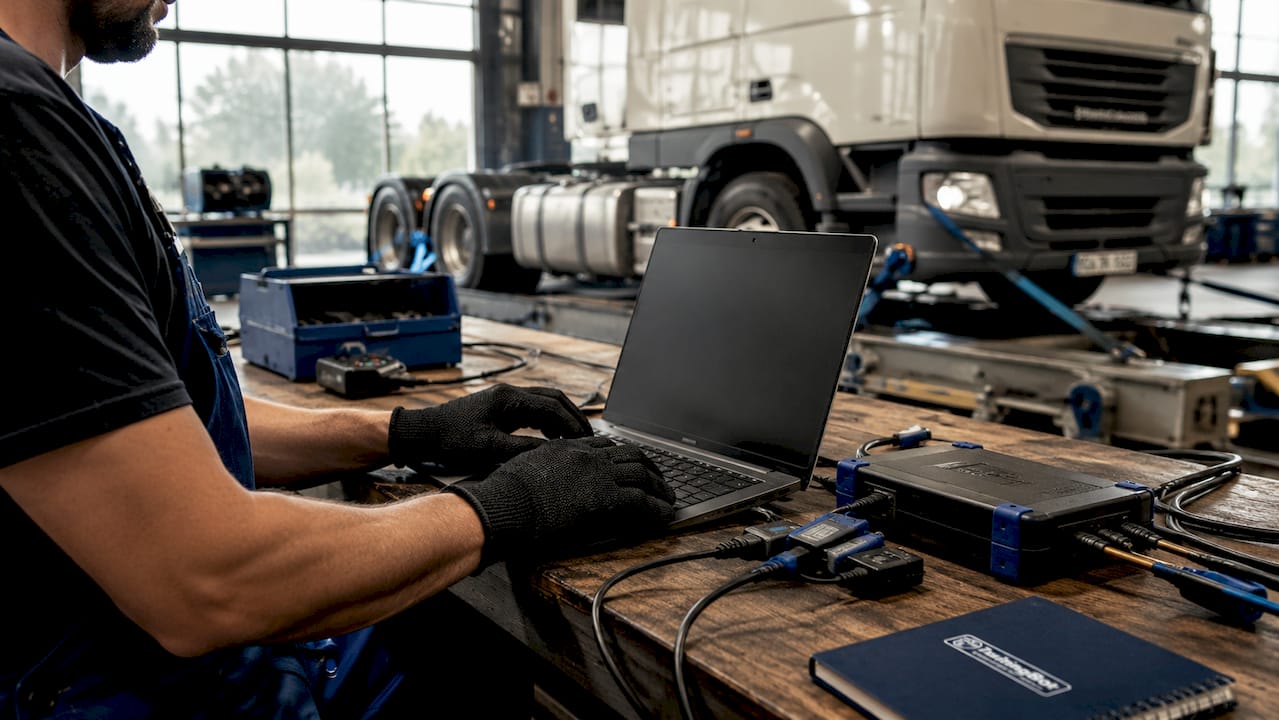
Reading and documenting the original ECU file is the first physical step. The stock file must be saved in at least two secure locations before any modification begins. This backup is the recovery point if calibration produces unexpected results.
Modifying calibration parameters covers fuel injection quantity, injection timing, boost pressure targets, and torque limits. Tuning only driver demand maps without matching the torque intervention logic triggers limp mode or produces ignored output on European truck ECUs. Every torque map layer must be adjusted in coordination.
A correção do checksum e a validação do binário devem acompanhar cada alteração de parâmetros. Um checksum incorreto faz com que a ECU rejeite o arquivo ou tenha um comportamento imprevisível. O TuningBot oferece a correção do checksum como serviço à parte e opcional para as famílias de ECU suportadas, para quando sua ferramenta não a faz na gravação.
Module update sequence is critical for trucks running CPC and MCM architectures. CPC must be updated before MCM to prevent module communication errors and permanent ECM faults. Reversing this order can brick the MCM and require dealer-level recovery.
The table below summarizes the calibration sequence and the key risk at each stage:
| Passo | Action | Key risk if skipped |
|---|---|---|
| 1 | Read and back up original ECU file | No recovery point if calibration fails |
| 2 | Adjust fuel, boost, and torque maps | Mismatched torque layers trigger limp mode |
| 3 | Correct checksum and validate binary | ECU rejects file or behaves unpredictably |
| 4 | Update CPC module first | MCM communication errors and permanent faults |
| 5 | Update MCM module second | Incomplete calibration, mismatched module versions |
| 6 | Write file with verified programming tool | Interrupted write corrupts ECU firmware |
Dica de Mestre: After writing the calibration file, perform a short data-logging run at low load before any full-load testing. This confirms the ECU accepted the file correctly and that no immediate fault codes appear before you stress the engine.
4. What post-remap validation procedures ensure reliability?
Post-remap validation is where professional calibration separates from amateur file swapping. A remap is not a simple file swap. Confirming that the calibration performs as intended under real load requires structured testing.
The core validation checklist includes:
- Dyno testing: Run the vehicle on a chassis dyno to measure actual power and torque output. Dyno validation ensures repeatable safety and performance tests that road driving cannot replicate.
- Before and after data logs: Document engine parameters at identical load points before and after remapping. This is the only objective proof that calibration targets were met.
- Thermal behavior check: Monitor EGT, coolant temperature, and oil temperature under sustained load. Thermal runaway after a remap indicates the calibration is pushing beyond safe limits.
- Smoke and emissions check: Verify that exhaust smoke output stays within acceptable limits. Excessive smoke signals over-fueling, which damages injectors and DPF systems.
- Knock detection review: Check for any knock events in the data log. Knock on a diesel indicates incorrect injection timing or excessive cylinder pressure.
- Fuel economy verification: Compare real-world fuel consumption before and after over a minimum of one full duty cycle. Fleet managers should expect measurable improvement, not just peak power gains.
Mobile tuning is generally insufficient for heavy-duty trucks with high-load cycles. A workshop dyno environment is the correct setting for validation on commercial vehicles.
5. Workflow comparison: mobile vs. workshop vs. custom calibration
Not all remapping workflows deliver the same level of safety or performance for European heavy-duty trucks. The table below compares three common approaches across the criteria that matter most for commercial vehicle applications.
| Critérios | Mobile remapping | Workshop-based remapping | Custom calibration |
|---|---|---|---|
| Diagnostic rigor | Limited, no dyno access | Full pre-remap diagnostics | Full diagnostics plus iterative logging |
| Validation method | Road test only | Dyno and road test | Dyno, road test, and data log review |
| Torque map coordination | Often incomplete | Standard practice | Fully coordinated across all layers |
| Suitability for heavy-duty trucks | Baixo | Alto | Mais alto |
| Risk of generic map application | Alto | Moderado | Baixo |
| Support availability | Variável | Workshop-based | Engineer-level support |
Custom calibration, where a qualified engineer builds and refines the map iteratively against real data, is the correct approach for European trucks operating under sustained high-load conditions. The Guia de técnicas 2026 remapping from TuningBot covers the full workflow criteria for professional-grade calibration on heavy diesel platforms.
Pontos-chave
A complete European truck ECU remapping checklist requires pre-remap diagnostics, vehicle-specific calibration with coordinated torque map adjustments, correct module update sequencing, and dyno-based post-remap validation to confirm safe performance gains.
| Ponto | Detalhes |
|---|---|
| Pre-remap diagnostics are mandatory | Check boost, rail pressure, injectors, DTC codes, and battery voltage before writing any file. |
| Stage selection determines hardware requirements | Stage 1 works within stock hardware limits; Stage 2 requires verified hardware upgrades first. |
| Torque map coordination prevents limp mode | All torque intervention layers must be adjusted together, not just driver demand maps. |
| Module update order is fixed | Update CPC before MCM to prevent communication errors and permanent ECM faults. |
| Dyno validation confirms calibration quality | Road testing alone cannot verify repeatable performance or thermal safety on heavy-duty trucks. |
What we’ve learned from trucks that went wrong
The most expensive remaps we see at TuningBot are not the ones that failed immediately. They are the ones that ran for three months before a turbocharger failed or an injector cracked. By that point, the original calibration file is gone, the technician who did the work is unavailable, and the fleet manager is left with a repair bill that dwarfs any fuel savings the remap was supposed to deliver.
The pattern is almost always the same. Someone skipped the pre-remap diagnostic baseline, applied a generic map pulled from a file-sharing forum, and called it done. No dyno. No data log comparison. No torque intervention check. The engine ran, so the job looked finished.
Fleet managers should insist on seeing the before and after data logs from every remap. If a workshop cannot produce them, the calibration was not done professionally. The ECU remapping benefits are real and well-documented, but they only materialize when the process is followed completely. A structured checklist is not bureaucracy. It is the difference between a truck that runs better for 200,000 miles and one that needs a rebuild at 50,000.
— Equipe Técnica do TuningBot
TuningBot’s professional ECU remapping support
TuningBot provides professional-grade ECU remapping files for European heavy-duty trucks, covering Bosch, Continental, Delphi, Marelli, and Denso ECU families. Every file is prepared around the original truck file, with torque map coordination and engineer review before delivery (checksum correction available as a service), so fleets and workshops are not relying on generic diesel maps.
Technicians and fleet managers can upload stock ECU files directly through the TuningBot platform with no registration and no prepaid credits. Pricing is transparent through the Lista de Preços TuningBot, coverage can be checked in Cobertura do serviço de ECU, and files can be sent from Remapeie seu arquivo. The platform supports all major programming tools including Alientech KESS3, AutoTuner, Magic Motorsport, CMD, Dimsport, and PCMFlash. For the full range of Serviços de ECU, TuningBot delivers calibrated truck files with real engineer support and fast turnaround.
PERGUNTAS FREQUENTES
What is included in a European truck ECU remapping checklist?
A European truck ECU remapping checklist covers pre-remap diagnostics, stage selection, calibration parameter adjustments, checksum correction, module update sequencing, and dyno-based post-remap validation. Each step must be completed in order to confirm safe and repeatable performance gains.
How much power gain can a Stage 1 remap deliver on a diesel truck?
Professional Stage 1 remapping for turbocharged diesel engines delivers 25–35% gains in power and torque, along with 10–15% fuel economy improvement. Results depend on the mechanical condition of the engine and the quality of the calibration file.
Why is mobile remapping insufficient for heavy-duty trucks?
Mobile remapping lacks the diagnostic rigor and dyno access required to validate calibration safety on high-load commercial vehicles. A workshop environment with chassis dyno testing is the correct setting for European truck remapping.
What happens if CPC and MCM modules are updated in the wrong order?
Updating MCM before CPC causes module communication errors and can produce permanent ECM faults that require dealer-level recovery. CPC must always be updated first, followed by MCM, as specified by the manufacturer.
Are generic off-the-shelf remap files safe for European trucks?
Generic maps that are not built for the specific vehicle’s mechanical condition cause turbocharger wear, injector failure, and emission control faults. Vehicle-specific calibration with full diagnostic baseline logging is required for safe results on heavy-duty platforms.