

 EnglishEN
 ItalianoIT
 DeutschDE
 PortuguêsPT
 FrançaisFR
 РусскийRU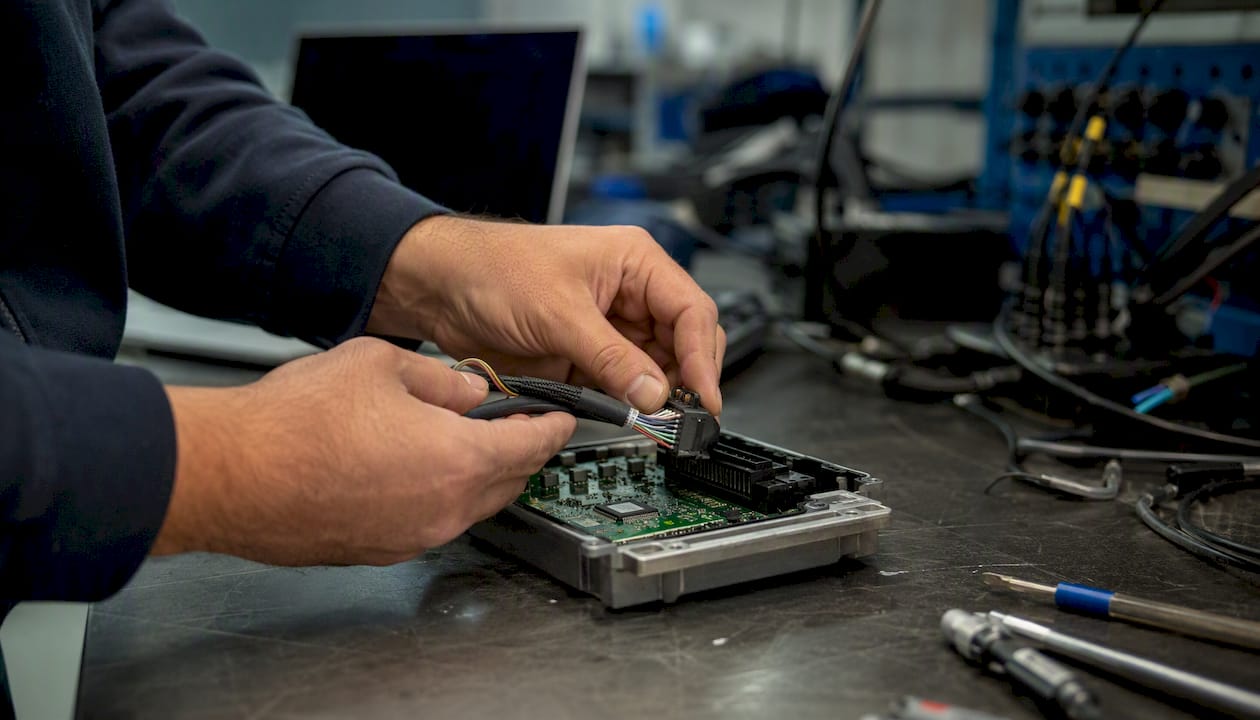
MED17 tuning guide workflows should start with exact ECU identification and the torque/load architecture of the specific Bosch MED17 variant. MED17 is a family rather than one universal calibration layout: map names, monitoring paths, boost strategy, read methods and checksum handling vary by OEM application and software version. A professional workflow therefore verifies the actual definitions and tool protocol before changing torque request, load, lambda, ignition or boost-related calibration.
Core workflow at a glance:
- Identify first: confirm ECU hardware/software ID, read type and available definitions before editing.
- Model torque coherently: keep driver request, torque monitoring, load/airflow and protection paths consistent for the exact software.
- Change fuel and ignition from data: use measured lambda, knock response, temperatures and fuel-system capability rather than universal targets.
- Program with the supported method: OBD, Bench, Boot or virtual-read workflows depend on the ECU and tool protocol.
- Validate the complete system: review DTCs, torque intervention, lambda, ignition, boost/load and thermal behavior after writing.
When a shop lacks bench/boot hardware, dyno access, or experience with variant-specific immobilizer handling, ordering a professionally built file from a service like TuningBot is the lower-risk path.
MED17 Tuning Guide: Key Takeaways
A reliable MED17 tuning guide treats torque structure, airflow/load, lambda, ignition, boost control and monitoring as one coordinated system. Exact map names and edit order must come from the specific ECU software and validated definitions, not from a generic MED17 recipe.
| Punto | Detalles |
|---|---|
| MED17 is a family | Do not assume identical map names or torque structure across every MED17 variant. |
| Torque and monitoring must agree | Driver request, torque limits, monitoring and load calculation should remain coherent. |
| Read type is tool-specific | Full, partial, virtual, encrypted, OBD, Bench and Boot workflows are not interchangeable. |
| Checksum handling varies | Use the integrity process required by the exact ECU and write tool. |
| Universal AFR/knock rules are unsafe | Lambda and ignition targets depend on engine, fuel, temperature and hardware. |
| This page is informational | It supports TuningBot service pages without competing for transactional ECU-remap keywords. |
MED17 Tuning Guide: Understanding the Torque and Load Model
Many Bosch MED17 applications use torque-based engine management in which driver demand is coordinated with torque limits, airflow/load, ignition, lambda and boost-related control. The exact implementation differs by OEM and software generation.
A simplified torque-to-airflow path can help explain some MED17 applications, but it should not be treated as a universal seven-step implementation. Use the correct damos/A2L or validated definitions for the exact software.
- Driver request: converts pedal/driver demand into the ECU’s internal requested torque or load framework; implementation varies by software.
- Torque conversion: requested driver demand is converted and constrained within the ECU’s torque model using software-specific factors and references.
- Loss and auxiliary modelling: friction and accessory loads may be included in the torque calculation depending on the implementation.
- Torque limiting: multiple engine, gearbox, thermal and plausibility limiters can compete to become the active ceiling.
- Torque-to-air/load conversion: the accepted torque request is translated into an air-charge/load requirement through the ECU’s model.
- Air/load modelling: the requested charge is resolved using the platform’s cylinder-fill, volumetric-efficiency and environmental models.
- Boost/air-path control: on turbo applications the resulting air-charge target contributes to manifold-pressure and actuator-control requests.
The practical implication: editing boost maps without first raising the torque request and limit caps means the ECU clips demand at step 4 before boost ever changes. Fueling is calculated against the mg/cycle figure at step 5, not against manifold pressure directly — so pressure alone is a monitoring variable, not a command signal.
MED17 software commonly includes independent torque/plausibility monitoring. On software where DrvDem/MonDrvDem-style structures are present, changes must remain consistent with the monitoring model; other variants use different names and logic.
Key control blocks to keep in mind across any MED17 calibration:
- Torque request and monitoring: use the exact driver-demand, torque-limit and monitor maps defined for the software.
- Cylinder fill / load: use the correct torque-to-load and load-to-torque definitions for the exact ECU.
- Ignition and knock: base timing, corrections, knock control and temperature protections.
- Fueling and lambda: target lambda, fuel pressure, injector characterization and relevant compensations.
- Cam timing — intake/exhaust cam phaser maps and their cylinder-fill interaction
- Boost/air-path control: load target, pressure limits and actuator control where applicable.
Which tools support MED17 reads and writes reliably?
Tool requirements depend on the exact MED17 ECU and protocol. Some variants support OBD identification/read/write, while others require Bench, Boot, unlock or virtual-read procedures. Use the current protocol list for the actual ECU rather than assuming every MED17 needs a full Bench/Boot read.
| Herramienta | OBD Support | Banco/Botas | Calibration Software | Notas |
|---|---|---|---|---|
| Alientech KESS3 | Yes (most variants) | Sí | WinOLS / third-party | Broad MED17 family coverage; OBD and bench protocols |
| PCMFlash | Yes (VAG variants) | Limited | Integrated editor | Strong on EA888/EA855; module-specific licensing |
| Dimsport (Flash + Genius) | Sí | Sí | Dimsport suite | Good VAG coverage; bench adapter required for boot |
| Magic Motorsport / CMD | Sí | Sí | Flex / CMD suite | Popular in professional shops; supports bench and OBD |
| ProECU | Yes (select variants) | No | ProECU calibration | Exposes curated OE map sets for easier calibration |
Consejo profesional: Choose bench/boot flashing over OBD whenever the job involves IMMO-off, a full calibration baseline, or checksum correction on a variant where OBD reads are known to be partial. A partial OBD read produces an incomplete baseline and can corrupt the checksum correction step — a problem that is far harder to recover from than the extra time a bench read takes.
Safe file-handling checklist before any edit:
- Preserve the source file and record ECU ID, software version, read type, tool and date; a cryptographic hash is useful but not mandatory for every shop.
- Never edit the original file; work on a clearly versioned copy.
- Log every map change in a change record with the map name, old value range, new value range, and reason.
- Confirm the checksum/signature/integrity process required by the exact ECU and selected tool before writing.
- Keep the original file on a separate storage medium, not only on the tuning laptop.
The linked EcuTek material is useful for its supported VW/Audi applications, but its map and programming workflow should not be generalized to every MED17 variant.
MED17 Tuning Guide: Professional Calibration Workflow
A MED17 tuning guide calibration order should follow the torque and airflow structure of the specific ECU. In general, establish the requested torque/load envelope before optimizing fuel, ignition and boost control, but do not force a fixed recipe onto unrelated MED17 software.
- Identify the ECU and preserve the source/read type supported by the selected protocol; record hardware/software IDs and baseline diagnostics.
- Review driver-request maps and monitoring counterparts identified for the exact software. Change only the regions required by the calibration objective and verify plausibility.
- Review the active torque limiters and protections. Raise only the limits that genuinely constrain the intended torque request and remain compatible with drivetrain and thermal limits.
- Calibrate the torque/load conversion maps using the exact definitions for the software; KFMIRL/KFMIOP-style relationships should not be assumed to have identical roles on every MED17.
- Set lambda and fuel-system targets from engine hardware, fuel quality, exhaust temperature, pressure and knock response rather than a generic rich/lean rule.
- Optimize ignition timing from measured knock response and torque rather than using a universal degrees-per-pull increment.
- If cam timing is modified, revalidate load/airflow and torque modelling across the affected operating range.
- Validate the torque-to-airflow-to-pressure path, then calibrate boost limits and actuator control where measured behavior or hardware changes require it.
- Validate progressively with DTCs, lambda, ignition, fuel/air pressures, temperatures and torque intervention channels relevant to the application.
Key PIDs to log at every stage:
- Driver request / requested torque or load channels available on the platform.
- Indicated/actual torque (N·m)
- mg/cycle (cylinder fill)
- MAF (g/s) and MAP (kPa or bar)
- Commanded and measured lambda using the ECU or validated external measurement.
- Fuel-adaptation channels relevant to the software and operating mode.
- Ignition timing and knock-retard/combustion-quality channels available on the ECU.
- Intake air temperature and coolant temperature
- Boost pressure actual vs. target
Consejo profesional: Set a knock-count abort threshold before the first dyno pull. If any cylinder logs more than two knock events in a single pull, abort, reduce timing by 2° in that RPM/load cell, and re-run. Never chase power at the expense of a clean knock log.
Which Calibration Areas Matter Most in a MED17 Tuning Guide?
MED17 definitions can expose many maps and limiters. A Stage 1 or hardware-matched calibration normally touches only the tables required by the exact engine, torque model and requested objective.
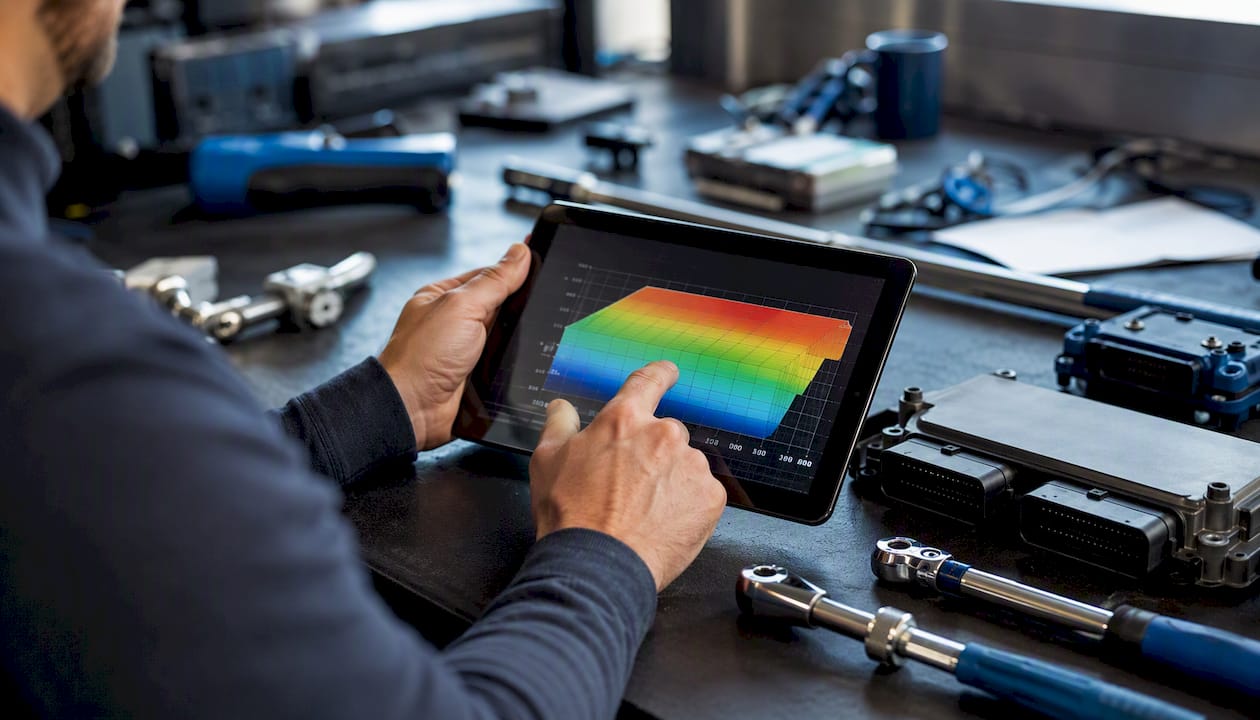
Driver demand and torque monitoring — Some MED17 definitions expose DrvDemA/MonDrvDem-style maps, while others use different names. The main request and monitoring paths must remain mutually plausible.
Torque limits — MED17 software can contain multiple engine, gearbox, environmental and protection limits. Identify the limiter actually active in logs before raising any ceiling.
Torque/load conversion — KFMIRL/KFMIOP-style relationships are important on many Bosch torque-based applications, but their exact axes and roles vary by software. Use the correct calibrated definitions rather than generic labels.
Ignition and knock control — Optimize timing using the engine’s measured combustion response, fuel quality, temperature corrections and knock-control strategy.
Lambda targets — Set targets from the specific engine, fuel, boost, exhaust-temperature and catalyst-protection requirements; there is no universal 0.85–0.90 target.
Injector and fuel-system characterization — Changes to injectors or fuel pressure require correct flow, dead-time and pressure-related characterization before load/fueling conclusions are trusted.
Cam timing — Cam targets interact with cylinder filling and torque modelling, so any change requires corresponding airflow/load validation.
Consejo profesional: When you change cam timing targets, always re-run a steady-state cylinder-fill check at the affected RPM points before advancing to full-load pulls. A cam timing shift that improves peak power can reduce mid-range fill if the KFMIRL table is not updated to match the new phaser position.
Boost and air-path control — On turbo MED17 applications, pressure targets and actuator control interact with the torque/load model. Calibrate from measured airflow and pressure behavior rather than treating boost as an isolated table.
How do you validate a MED17 tune before releasing the file?
A MED17 tuning guide validation process should cover the operating regions affected by the calibration and use repeatable diagnostics and logs. The number of dyno pulls, acceptable trims and knock response are platform-specific rather than universal.
Ordered test sequence:
- Pre-checks: scan DTCs and confirm stable idle, plausible lambda/fuel corrections and normal temperatures.
- Part-load validation: review lambda, torque/load intervention, ignition and drivability in the regions affected by the tune.
- High-load validation: use enough repeatable controlled tests to verify lambda, ignition/knock, boost/load, fuel pressure and temperatures.
- Thermal validation: confirm that temperature compensations and protection strategies behave correctly after repeated load.
- Cruise validation: review learned fuel corrections and load plausibility under representative steady operation.
Common failure modes and root causes:
| Síntoma | Areas to investigate |
|---|---|
| Torque intervention / clipping | Active torque limiter, gearbox request, thermal limit, airflow/load model or plausibility monitoring |
| Limp mode after calibration | DTC first; then monitoring consistency, pressure control, sensor plausibility and protection functions |
| Lambda deviation | Fuel pressure, injector characterization, airflow/load calculation, lambda target and sensor accuracy |
| Excessive knock retard | Fuel quality, ignition target, boost/load, charge temperature, mixture and mechanical condition |
| Boost overshoot or hunting | Air-path model, pressure limits, wastegate control, hardware and sensor data |
Consejo profesional: Keep the stock file on a USB drive in the vehicle during initial road testing. If a monitoring fault triggers limp-mode and the vehicle cannot reach a dyno, a quick OBD reflash to stock restores driveability immediately. Always confirm your tool can write OBD before leaving the workshop.
How does a professional service prepare and deliver MED17 remaps?
A professional file workflow should preserve the source file, exact ECU ID, revision history, edit scope and post-write validation data.
- Read and baseline. Full bench or boot read of the ECU. Hash the original file. Run a baseline datalog to capture stock torque, mg/cycle, AFR, and knock behavior.
- Edit per torque-path sequence. Apply changes in the order described above: driver request, torque limits, cylinder-fill, fueling, ignition, cam timing, boost verification.
- Internal QA checks. Verify MonDrvDem* maps match DrvDemA edits. Confirm all torque limit caps are above the new demand ceiling. Check structural limit maps for transmission and drivetrain torque caps. Review the datalog for any clipping or monitoring mismatch.
- Integrity handling: use the checksum/signature process required by the selected protocol and write tool.
- Validation: confirm the file and vehicle behavior using appropriate diagnostics, logs and controlled testing.
- Delivery: preserve revision identification and the technical information agreed with the file provider.
Example changelog fields a professional delivery includes:
- Vehicle identification (VIN, make, model, year)
- ECU part number and software version
- Original file hash (MD5/SHA)
- Maps edited (map name, axis range, old value range, new value range)
- Reason for each edit
- Validation datalog reference (file name, dyno sheet ID)
- Known limitations and hardware prerequisites
How does MED17 handle calibration checksums and protection?
MED17 integrity and protection mechanisms vary by microcontroller, memory layout and OEM implementation. Checksum, signature and authentication behavior should be handled by the supported tool or a verified ECU-specific workflow.
Many professional flashing tools perform automatic checksum or integrity handling on supported protocols, but coverage is not universal and should be confirmed for the exact ECU and file type.
Do not assume checksum correction covers boot, immobilizer or every memory region. Partial, virtual and full reads have different purposes, and a supported OBD workflow is not inherently invalid simply because it is not a full physical backup.
Security and authentication methods vary by variant. If the tool cannot establish the required session or unlock, follow the tool vendor’s supported Bench, Boot or unlock procedure rather than attempting to bypass it manually.
What triggers torque-based limp modes and how do you manage them?
Limp mode can result from calibration plausibility faults, sensor/actuator faults, boost or fuel-pressure deviations, thermal protection, torque monitoring or other diagnostics. Read the DTC and supporting data before assuming the calibration is the cause.
On variants using paired driver-demand and monitoring structures, inconsistent edits can trigger plausibility faults. The actual monitored map names and tolerances must be confirmed from the exact software.
Torque intervention can also occur when another limiter, gearbox request, thermal protection or air/fuel constraint becomes the active ceiling. Requested-versus-delivered torque alone does not identify which limiter is responsible.
Diagnose torque intervention systematically: capture DTCs before clearing them, compare requested and delivered torque/load, and review the relevant limiters, pressures, temperatures and monitoring channels.
How do fuel trims and adaptation maps interact in MED17?
Fuel adaptation structure varies across MED17 applications. Short- and long-term corrections may be split by load, bank, operating mode or other conditions, so use the actual ECU logging channels and documentation.
Fuel trims can expose errors in airflow modelling, injector characterization, fuel pressure or lambda control, but they should not be attributed automatically to KFMIRL/KFMIOP edits.
Large or unstable learned corrections deserve investigation, but acceptable trim ranges depend on the platform and operating condition. High-load lambda should be validated separately using the ECU’s actual control strategy.
Understand the ECU’s adaptation strategy before clearing learned values. Allow enough representative operation for the relevant adaptations to update before judging the final calibration.
What are the long-term durability limits when raising MED17 torque?
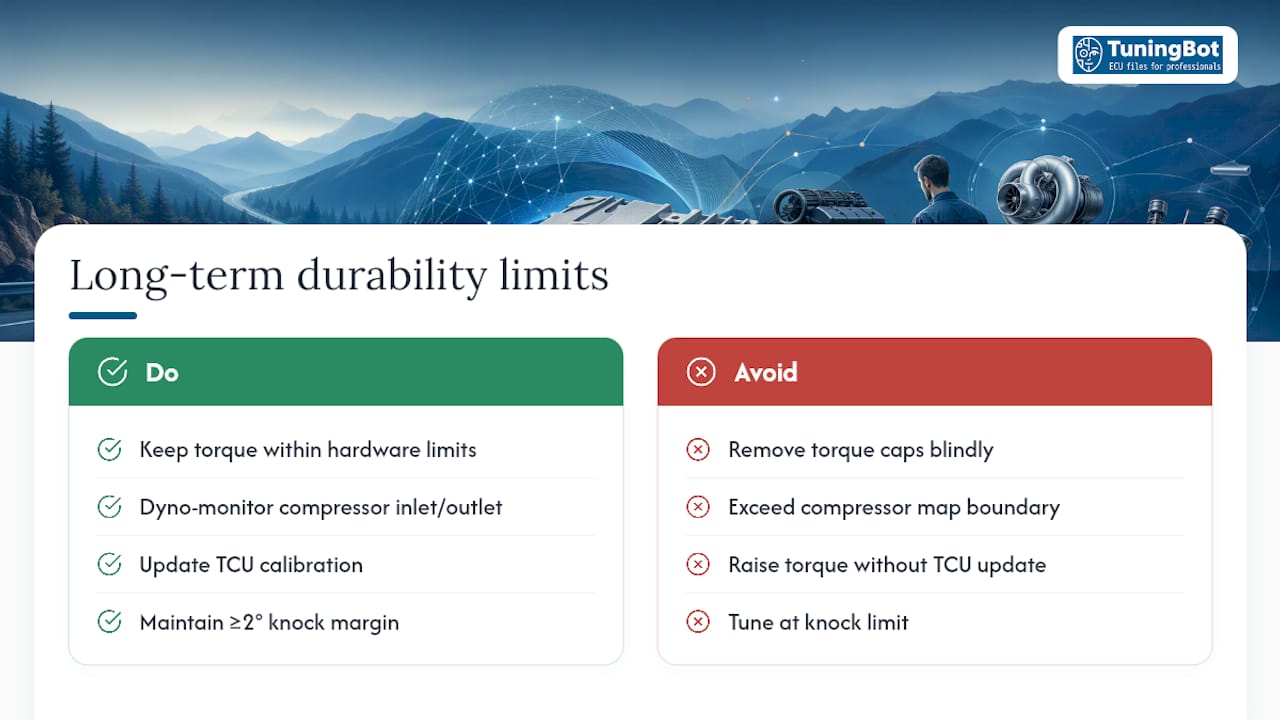
Raising software torque limits does not increase the mechanical capability of the engine, turbocharger, clutch, gearbox or cooling system.
Hardware limits depend on the exact engine and turbocharger. Use component data, pressure ratio, temperature, fuel-system capacity and drivetrain condition rather than generic EA888/MED17 torque assumptions.
Transmission torque coordination is a separate concern on vehicles where the ECU and TCU exchange torque information. If engine output changes materially, verify that the TCU strategy remains appropriate for the actual drivetrain.
Durability also depends on fuel quality, temperature, knock response, oil/coolant control and duty cycle. There is no universal two-degree ignition-margin rule that can be applied safely to every MED17 engine.
When should you tune in-house vs. use a professional remap service?
The in-house versus outsourced decision depends on tool coverage, calibration definitions, logging capability, validation resources and technician experience.
A competent workshop can develop supported MED17 calibrations in-house when it has the correct definitions, programming tool, diagnostics and validation process. Bench hardware or a chassis dyno is not universally mandatory for every supported Stage 1 workflow.
Outsourcing can make sense when the workshop lacks reliable definitions, protocol support or experience with the exact variant, or when an unusual recovery/security workflow is required.
Consejo profesional: If you are ordering a professional file for a vehicle that requires bench access, confirm that the service provider includes a full changelog and a validation datalog reference with delivery. A file delivered without traceability gives you no diagnostic starting point if the vehicle develops a fault after installation.
En Stage 1 workshop setup guide from TuningBot covers the hardware and software prerequisites for setting up an in-house MED17 workflow, including tool selection and dyno integration.
How TuningBot Supports MED17 Workshop Workflows
TuningBot can provide MED17 calibration files for supported ECU IDs and file formats, while this MED17 tuning guide remains focused on technical workflow rather than transactional service keywords.
Antes de hacer el pedido, los talleres pueden verificar Cobertura del servicio ECU, repasa la Lista de Precios Pública y busca las disponibles Servicios ECU.
The source file can be submitted through Reprograma tu archivo without prepaid credits.
For related technical reading, see the verified Guía de Programación de la ECU del Motor, Marelli ECU Tuning Workflow y Dimsport ECU Tuning Guide.
The workshop remains responsible for exact ECU identification, vehicle diagnosis, programming conditions, legal compliance and final validation.
Sources and Further Reading
- Tuners Guild — MED17 torque conversion discussion — external technical-community reference; map names and sequence are software-specific.
- EcuTek — VW AG EA855 Engine Tuning — external platform-specific MED17.1.62 reference.
- Scribd — MED17 map list — external map-list reference retained as requested; definitions must be independently verified.
- TuningBot Engine ECU Programming Guide — internal programming workflow reference.
- TuningBot Stage 1 Workshop Setup — internal workshop workflow reference.
- TuningBot Checksum Correction Guide — internal file-integrity reference.
PREGUNTAS FRECUENTES
What is the first map to edit when tuning MED17?
There is no universal first map for every MED17. Start by identifying the exact torque/request and monitoring architecture in the verified definitions, then change only the areas required by the calibration objective.
Why does my MED17 tune trigger limp-mode after editing?
Read the DTC and logs before assuming the cause. Calibration plausibility, torque monitoring, boost/airflow, fuel pressure, sensors, thermal protection and hardware faults can all trigger limp mode.
Does MED17 OBD unlock work for all variants?
No. OBD, Bench, Boot, unlock and virtual-read support depend on the exact ECU hardware/software and flashing tool. Use the current tool protocol for the identified unit.
How do I correct the checksum on a MED17 file?
Use the checksum/signature/integrity process supported for the exact ECU and selected write tool. Many professional tools handle supported regions automatically, but coverage must be confirmed.
When should a workshop order a professional MED17 remap file?
Outsource when the workshop lacks reliable definitions, protocol coverage, calibration experience or validation resources for the exact MED17 variant.