

 EnglishEN
 DeutschDE
 EspañolES
 PortuguêsPT
 FrançaisFR
 РусскийRU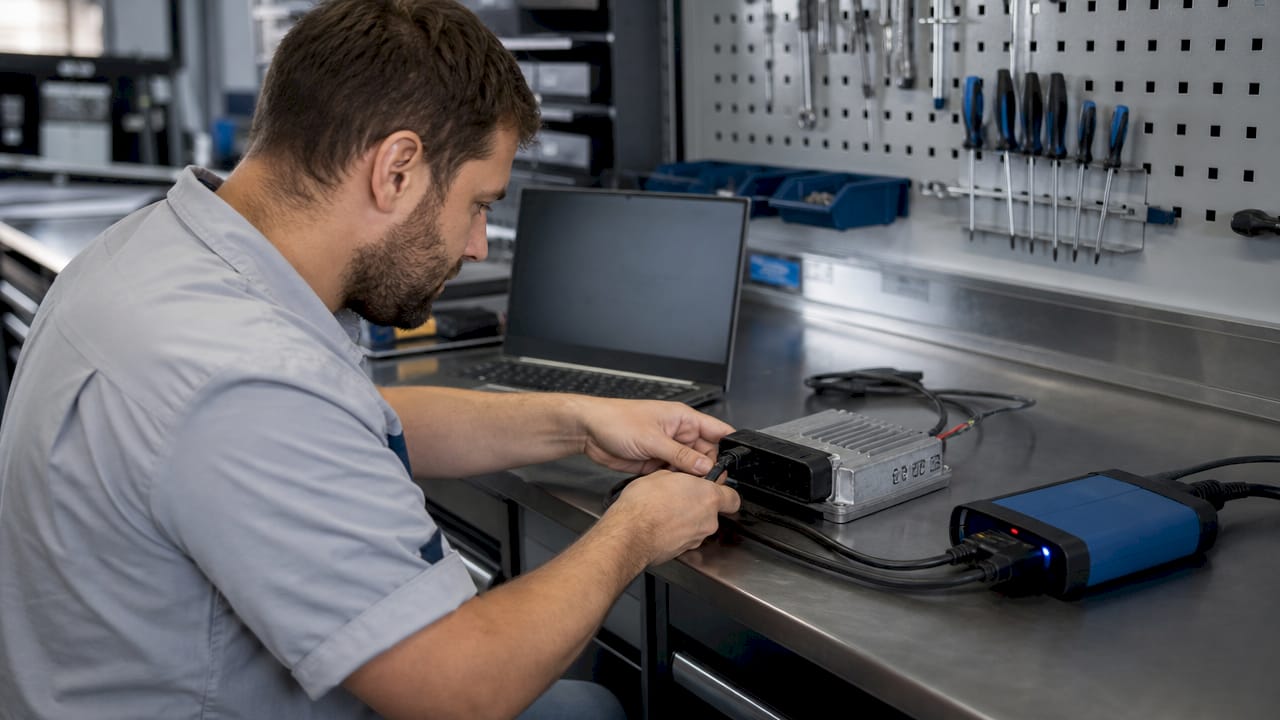
Le procedure di lettura/scrittura della centralina con AutoTuner definiscono la sequenza esatta che un tecnico deve seguire per estrarre il firmware dalla centralina del motore di un veicolo, modificarlo e riscriverlo in modo sicuro. Il processo prevede tre distinti metodi di connessione: OBD, bench mode e boot mode. Ciascun metodo comporta requisiti hardware specifici, regole di gestione dell’alimentazione e considerazioni relative alla sicurezza. Un errore in uno qualsiasi di questi aspetti comporta il rischio di danneggiamento del firmware o di un’ECU irrecuperabile. Questa guida illustra ogni fase, dalla preparazione iniziale alla verifica post-scrittura, in modo da poter eseguire il processo di aggiornamento dell’ECU con sicurezza e integrare perfettamente il flusso di lavoro di AutoTuner con un servizio di file professionale come TuningBot.
Cloning an ECU or DSG mechatronic on a VAG car? Send us the reads of both units and get the donor back with the immo data of your car, ready to start with the original keys — €69.99 per unit.
Quali strumenti e preparazione sono necessari prima di leggere o scrivere dati ECU?
La preparazione determina il successo o il fallimento di una sessione ancora prima che lo strumento AutoTuner venga collegato. Tralasciare questa fase stage è la causa principale di letture fallite e scritture danneggiate.
Hardware richiesto
Ogni sessione richiede il dispositivo AutoTuner stesso (unità Master per accesso completo in lettura/scrittura), un banco di prova abbinato alla famiglia della ECU di destinazione, un alimentatore da laboratorio regolato in grado di mantenere 13,5V–14,4V e i relativi cavi OBD o da banco. Per il lavoro da banco, è necessaria anche una scheda breakout o un connettore specifico per la ECU. Conferma la compatibilità dei cavi rispetto al database veicoli AutoTuner prima di iniziare.
Software e identificazione del veicolo
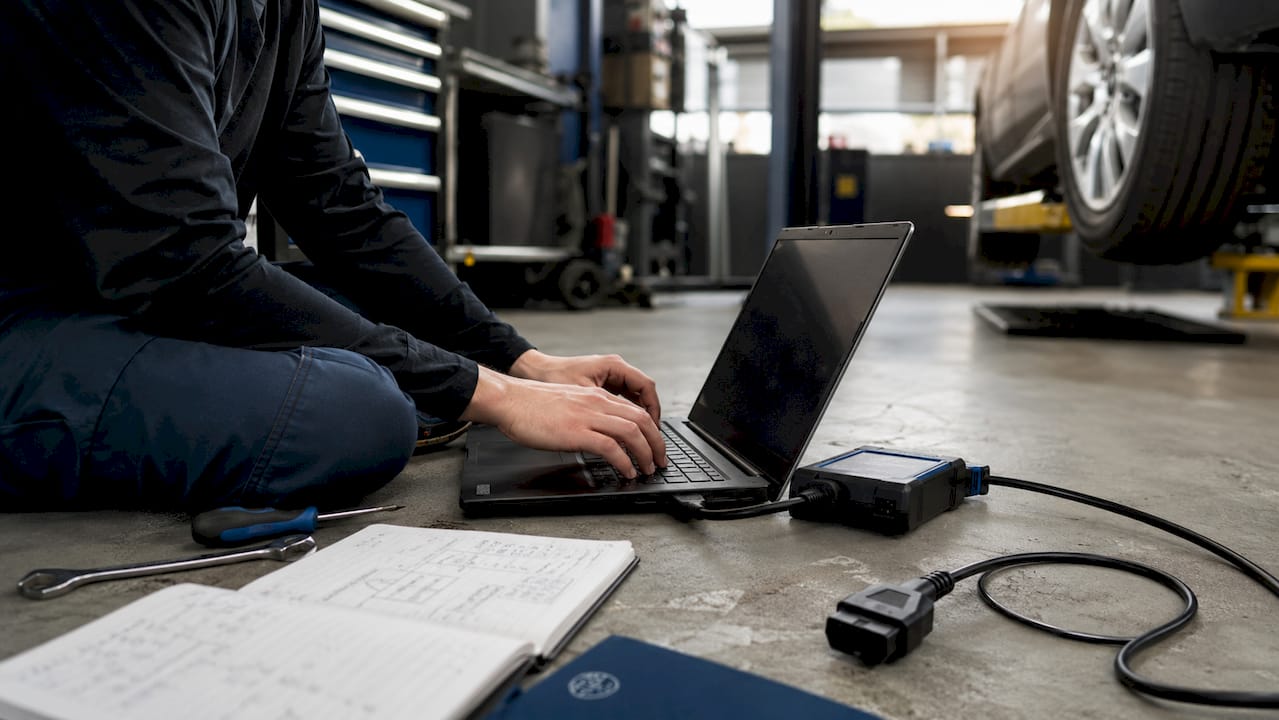
Installa l'ultima versione del software AutoTuner su un laptop dedicato con un ambiente Windows stabile. Identifica il veicolo tramite VIN, numero di parte della centralina e versione hardware/software prima di aprire qualsiasi connessione. L'ID della centralina determina quale protocollo di lettura/scrittura lo strumento seleziona e una mancata corrispondenza causa l'abort della sessione o, peggio, la scrittura sulla mappa di memoria errata.
Requisiti per lo sblocco della ECU
Numerose centraline VAG moderne richiedono una procedura di sblocco prima di poter procedere con qualsiasi operazione di lettura o scrittura. A partire da giugno 2026, esistono tre modalità di sblocco: una patch OBD applicata durante il primo collegamento al banco di prova, una sequenza boot mode specializzata oppure un servizio di sblocco tramite invio postale per le centraline che non possono essere gestite in loco. Identificate quale percorso si applica alla vostra centralina di destinazione prima di prenotare l’intervento sul veicolo. Tentare una lettura su una centralina bloccata senza il metodo di sblocco corretto fa perdere tempo e può azionare i contatori di security.
| Tipo di connessione | Livello di accesso | Caso d'uso tipico |
|---|---|---|
| OBD | Lettura/scrittura standard | La maggior parte dei veicoli di produzione, ECU sbloccate |
| Bench mode | Flash completa + EEPROM | Centralina protette, accesso più profondo alla calibrazione |
| Boot mode | Livello del chip/processore | ECU pesantemente bloccate, operazioni di recupero |
Consiglio Pro: Verificare sempre che la voce del database dei veicoli di AutoTuner corrisponda al numero di revisione hardware esatto della propria ECU. Una differenza di una singola cifra nel numero di parte può indicare una struttura di memoria completamente diversa.
Come leggere i dati della centralina passo dopo passo con AutoTuner?
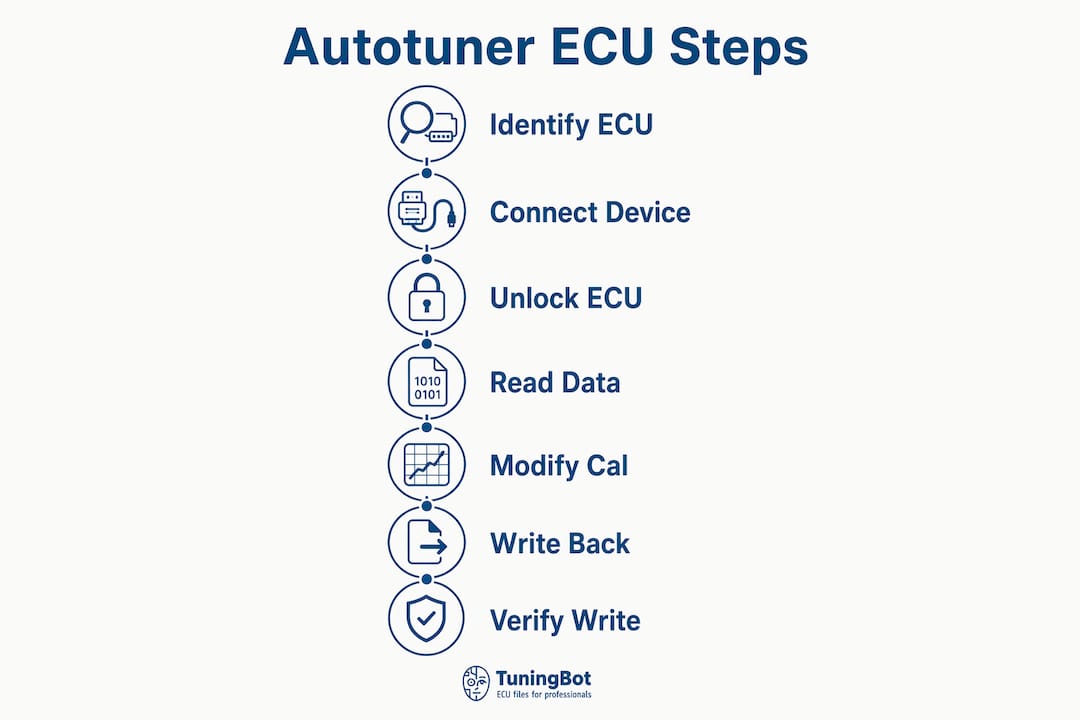
La procedura di lettura della ECU è alla base di ogni Il flusso di lavoro professionale di tuner. Una lettura pulita e verificata è l'unico punto di partenza sicuro per qualsiasi lavoro di calibrazione.
- Identifica la centralina. Apri il software AutoTuner e utilizza la funzione di rilevamento automatico o inserisci manualmente il numero di parte della centralina (ECU). Conferma la corrispondenza nel database del veicolo prima di procedere.
- Collega l'hardware. Per le letture OBD, collegare il cavo AutoTuner alla porta OBD-II del veicolo con il quadro acceso. Per le letture da banco, collegare il cablaggio da banco alla centralina dopo aver rimosso l'unità dal veicolo e averla posizionata su una superficie pulita e priva di elettricità statica.
- Applica alimentazione stabile. Collegare l'alimentatore da banco al cablaggio e impostarlo su 13,8 V. Verificare che l'alimentazione mostri un assorbimento di corrente stabile prima di avviare la comunicazione.
- Avvia la lettura. Seleziona “Read ECU” nel software AutoTuner. Lo strumento legge sia la memoria flash che l'EEPROM in un'unica operazione per le centraline supportate. Non interrompere questo processo.
- Salva il file di backup. Esegui il backup dell'intera flash e della EEPROM subito dopo che la lettura è completa. Salvare il file in una cartella chiaramente etichettata che includa la targa del veicolo, il numero di parte della centralina e la data. Questo backup è il tuo punto di ripristino se qualcosa va storto durante la scrittura.
- Verificare l'integrità dei dati. Aprire il file letto in un editor esadecimale o nella vista di verifica del software AutoTuner. Confermare che la dimensione del file corrisponda al valore previsto per il tipo di ECU e verificare che i dati non contengano blocchi nulli ripetuti, i quali indicano una lettura fallita o parziale.
- Gestisci ECU bloccate. Se la centralina restituisce un errore security, applicare il metodo di sblocco appropriato prima di riprovare. A servizio di sblocco tramite posta prevede la rimozione della centralina, il suo imballaggio in modo adeguato e l'invio a uno specialista che esegue un intervento diretto sull'hardware, per poi restituirla pronta per essere collegata al banco di prova.
Consiglio Pro: Prima di intervenire sui dati di calibrazione, salvare due copie di ogni file di lettura originale in posizioni di archiviazione separate. È già capitato più di una volta che un backup danneggiato abbia causato l'interruzione di diverse sessioni tuning.
Come si preparano e si riscrivono i file ECU modificati utilizzando AutoTuner?
Il momento in cui il rischio è maggiore è proprio durante la riscrittura di un file modificato nella centralina. Interruzioni di alimentazione, errori checksum e incompatibilità di protocollo in questa fase stage possono rendere la centralina non operativa.
- Edit the read file. Open the original read file in your calibration software or upload it to a professional file service. For a workshop using AutoTuner as the read/write tool, TuningBot’s Tune Your File workflow is the clean handoff point: read the original with AutoTuner, upload it directly, receive the calibrated file, then write it back with AutoTuner. Make only the changes required for the target tune and avoid modifying memory regions outside the calibration area unless you have confirmed their function.
- Verify checksums. Modified files must pass checksum verification before writing. The AutoTuner software manages checksums during the write operation, but pre-verifying the file in a dedicated checksum tool catches errors before they reach the ECU. A failed checksum written to flash causes immediate ECU malfunction.
- Carica il file modificato. Open the AutoTuner software, select “Write ECU,” and load the verified modified file. Confirm the file’s ECU identifier matches the connected unit exactly.
- Maintain stable power throughout the write. Use a dedicated lab power supply and monitor voltage continuously. A drop below 12.5V during a flash write is the leading cause of firmware corruption. Never rely on the vehicle’s battery alone for bench write operations.
- Execute the write. Start the write operation and do not interact with the software, cables, or power supply until the process completes. The AutoTuner tool will confirm a successful write with a completion status message.
- Power cycle and verify. Disconnect power, wait 30 seconds, then reconnect and perform a fresh read of the ECU. Compare the written file against the modified file to confirm they match byte for byte.
- Clear fault codes. Connect a diagnostic tool and clear any DTCs generated during the bench session. Perform a short drive cycle or idle test to confirm the ECU operates correctly with the new calibration.
Writing to an ECU without a verified checksum-clean file is the fastest way to create an expensive paperweight. Pre-verification takes two minutes. ECU replacement takes two weeks and costs significantly more.
For a deeper look at the technical mechanics behind this stage, the guide on UDS flashing and checksums covers the protocol layer in detail.
Cosa sono il "bench" e il "boot mode" e quando è opportuno utilizzarli?
Bench mode involves direct connection to the ECU circuit board, bypassing factory restrictions that block OBD access. It is the standard method for ECUs with anti-tuning protections that prevent standard OBD reads. Boot mode goes further: it requires opening the ECU housing and connecting directly to specific processor or chip pins, often requiring fine-pitch soldering skills.
When to use bench mode
- The ECU returns a security error or access denial over OBD
- The target calibration requires full flash and EEPROM access
- The vehicle has a Bosch, Continental, Delphi, or Marelli ECU with known OBD restrictions
- You are performing a recovery operation on a previously failed write
When to use boot mode
- Bench mode still cannot access the ECU due to deep security protections
- The ECU firmware is corrupted and the unit will not communicate at all
- The target ECU requires direct chip-level intervention for unlocking
Hardware setup for bench and boot operations
Bench mode requires careful power sequencing: connect grounds first, apply battery voltage, then apply the ignition signal, and confirm CAN bus communication before initiating any read or write. Boot mode adds pin-level connections at the processor, which vary by ECU family and require the correct wiring diagram from the AutoTuner database.
| Modalità | Accesso ECU | Hardware richiesto | Skill level |
|---|---|---|---|
| OBD | Standard calibration area | OBD cable, AutoTuner device | Entry |
| Panchina | Flash completa + EEPROM | Bench harness, lab power supply | Intermediate |
| Stivale | Processor/chip level | Bench harness, soldering, pin connections | Advanced |
Consiglio Pro: Professional tuners validate CAN signal quality with an oscilloscope before starting a bench flash. A clean square wave on the CAN high and CAN low lines confirms the communication channel is stable enough for a safe write.
For a complete breakdown of Master vs. Slave device selection and connection method selection, the AutoTuner tool guide covers every configuration in detail. Technicians working on performance builds can also reference APR tuning practices for context on how calibration targets align with connection method choices.
Punti chiave
Successful AutoTuner ECU read/write operations require correct connection method selection, verified checksums, and uninterrupted stable power at every stage.
| Punto | Dettagli |
|---|---|
| Match connection method to ECU security | Use OBD for standard ECUs, bench for protected units, and boot mode for locked or corrupted ECUs. |
| Back up before every write | Save full flash and EEPROM to two separate locations before modifying any calibration data. |
| Verify checksums before writing | Pre-check modified files with a checksum tool; the AutoTuner software alone is not a substitute for pre-verification. |
| Maintain stable power during writes | Hold 13.8V with a lab supply throughout; voltage drops below 12.5V cause firmware corruption. |
| Unlock ECUs before attempting reads | Identify the correct unlock path (OBD patch, bench unlock, or mail-in) before connecting to a protected ECU. |
Cosa insegna in realtà l'esperienza con il flashing dello strumento AutoTuner
The most common mistake we see from technicians new to bench work is treating the AutoTuner tool as a plug-and-play device. It is not. The tool is only as reliable as the setup around it. Power quality, cable integrity, and ECU identification accuracy determine the outcome far more than the tool itself.
We have seen corrupted writes caused by nothing more than a worn bench harness connector creating intermittent contact during a flash. The AutoTuner software reported a successful write, but the ECU would not communicate afterward. A byte-for-byte comparison of the written file against the intended file revealed the corruption immediately. That is why post-write verification is not optional.
The unlock decision also deserves more attention than most guides give it. Choosing the wrong unlock method for a VAG ECU, for example, can consume a one-time OBD patch credit without completing the unlock. Understanding the exact ECU variant and its security architecture before committing to an unlock path saves both time and money. The AutoTuner tool guide and the AutoTuner vehicle database are the two most reliable references for this decision.
Patience during the write phase is not a soft skill. It is a technical requirement. The temptation to check the laptop screen or adjust a cable mid-flash is real, and it has bricked ECUs. Set up the bench correctly, start the write, and do not touch anything until the completion message appears.
— TuningBot Team Tecnico
Supporto professionale di TuningBot per la centralina tuning dedicato agli utenti di AutoTuner
TuningBot supports professional workshops and tuners who use AutoTuner as their primary read/write tool. The platform fits naturally between the read and write phases: read the ECU with AutoTuner, upload the original file to TuningBot, receive an engineer-calibrated file, and write it back safely with the same AutoTuner workflow.
The key advantage is workflow clarity. There is no registration barrier, no forced prepaid-credit package, and no hidden onboarding step. Workshops can check the public ECU tuning price list, confirm supported solutions through Copertura dei servizi ECU, review available Servizi di modifica, and send the file directly through Rimappa il tuo file.
TuningBot covers Bosch, Continental, Delphi, Marelli, Denso, Siemens, ZF, and other major ECU and TCU families. Services include Stage 1, Stage 2, Stage 3, DPF Off, EGR Off, AdBlue/SCR Off, IMMO Off, DSG/TCU tuning, DTC removal, and checksum-related file support. For AutoTuner users, that means the technician can focus on correct ECU identification, stable power, clean backups, and safe flashing while TuningBot handles the calibration file with real engineer support.
FAQ
What is the first step in the AutoTuner ECU read write process?
ECU identification is the first step. Confirm the vehicle’s ECU part number and hardware version in the AutoTuner software before establishing any connection.
Can you read a locked ECU with AutoTuner over OBD?
Le centraline bloccate richiedono innanzitutto una procedura di sblocco. A seconda del tipo di centralina, ciò comporta l’applicazione di una patch OBD, uno sblocco bench mode o un servizio di sblocco tramite invio postale che prevede un intervento diretto sull’hardware.
What causes a failed ECU write with AutoTuner?
Le due cause più comuni sono le cadute di tensione al di sotto dei 12,5 V durante la procedura di flash e gli errori checksum nel file modificato. Entrambe possono essere evitate utilizzando un alimentatore da laboratorio e verificando il file prima della scrittura.
Quando è necessario utilizzare il boot mode per l'ECU tuning?
Il boot mode è necessario quando l'OBD e i bench mode non riescono ad accedere alla centralina a causa di protezioni di sicurezza avanzate security, oppure quando il firmware della centralina è danneggiato e l'unità non comunica attraverso i canali standard.
Come verifichi un'operazione di scrittura ECU riuscita?
Dopo la scrittura, eseguire una nuova lettura dell'ECU e confrontare il risultato byte per byte con il file modificato. Qualsiasi discrepanza indica una scrittura parziale o non riuscita che richiede un'analisi approfondita prima che il veicolo venga rimesso in servizio.